Registration is limited to Google Gmail & MailRU & Yahoo & Yandex email addresses.
Do not create multi-accounts, you will be blocked!


Biaoqing Panda
Active Member
-
Joined
-
Last visited
-
 ⭐⭐⭐⭐⭐ it would be great if there’s more
 -
 I may update the animation storage locations later if I’m not feeling too lazy.
- 18 comments
- 14 reviews
-
 im falling in love with you
 -
 love it
 -
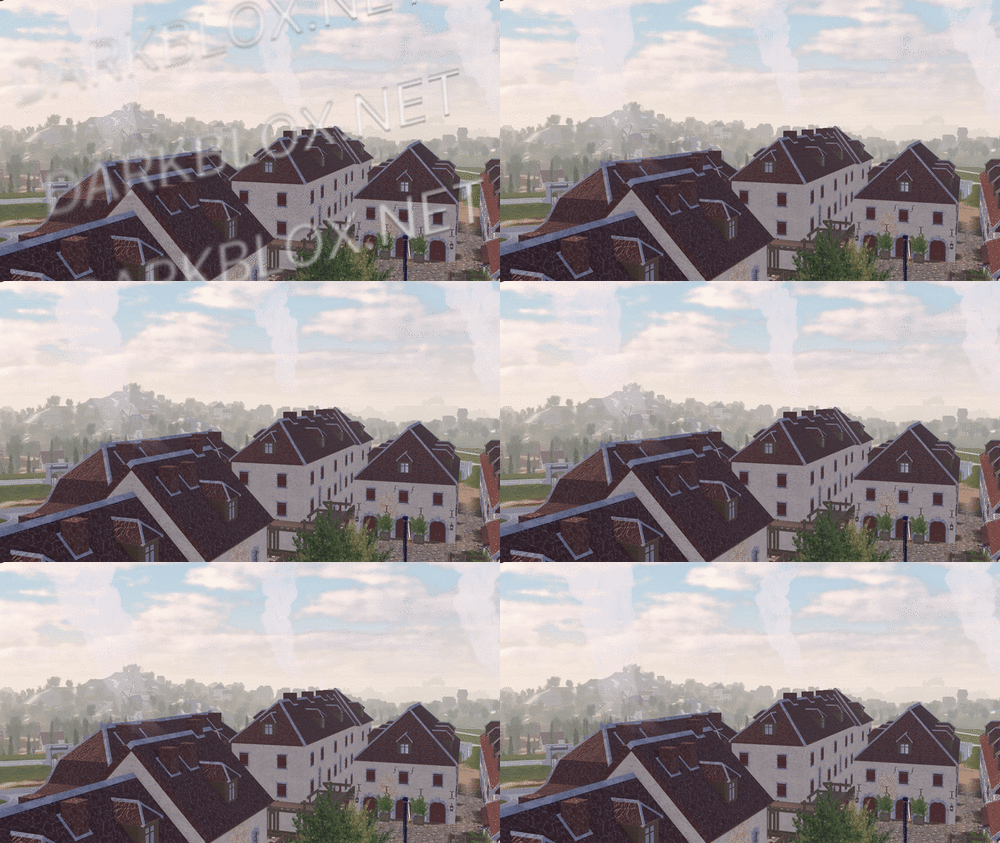
In-game screenshots: Loadout, chants, and weapon usage showcase: https://imgur.com/a/2SxFZd6 In-game screenshots in GIF version (to show more details.): https://imgur.com/a/2JdtelS For those who don't know how to setup the map, I'll explain it here. 1. Go to ServerScriptService: - In the Roblox Studio, find the section called "ServerScriptService." Then, look for a folder called "ThisMap." 2. Edit the Barraux Script: - Inside the "ThisMap" folder, you'll find a module script named "Barraux." Open this script and go to line 110. On that line, you'll see an ID number. Replace it with your own Roblox group ID. 3. Edit the French ModuleScript: - Now, go to a folder called "ThisNation." Inside, find the "French" module script. Open it and change the ID numbers at lines 77 and 101 to your Roblox group ID. // groupForPermission = group ID // minimumRank = minimum rank inside the selected group ID to have this in-game permission. 4. Edit Flag Navigation Permissions: - In the same "French" module script, click to view more files. Look for something called "FlagsNew." Inside, go to "FlagNavigationPermissions" and change the ID numbers starting from line 25 until the last line with an ID. // groupToSee = group ID // userIdToSee = player ID 5. Modify NavigationPermission ModuleScript: - Next, go to the "Loadouts" module script, click the arrow to view more. Inside, find the "NavigationPermission" module script. Here, you’ll need to change the ID on line 25 and every line with an ID until the end of the script. // groupToSee = group ID // userIdToSee = player ID 6. Update NavigationTable ModuleScript: - After you’re done with "NavigationPermission," go to the "NavigationTable" module script and change the ID starting from line 30 until the last line. // permission = player ID 7. TagsInfo Customization: - Now, go to the "TagsInfo" module script. Here, you can change the ID and customize any text as you like. 8. Edit TeamInfo ModuleScript: - Finally, go to the "TeamInfo" module script and update the IDs starting from line 99 all the way until the last line with an ID. There is a lot more for you to edit and customize; this is just a basic setup, and I'm sure you will figure it out on your own soon after you take a look around it. (You need to spoof all animation too.) Note: Weapons, company creation, and admin commands are functional in the game. More information and details on how to customize additional aspects might be added later if I'm not too lazy.Free
- 18 comments
- 14 reviews
-
12